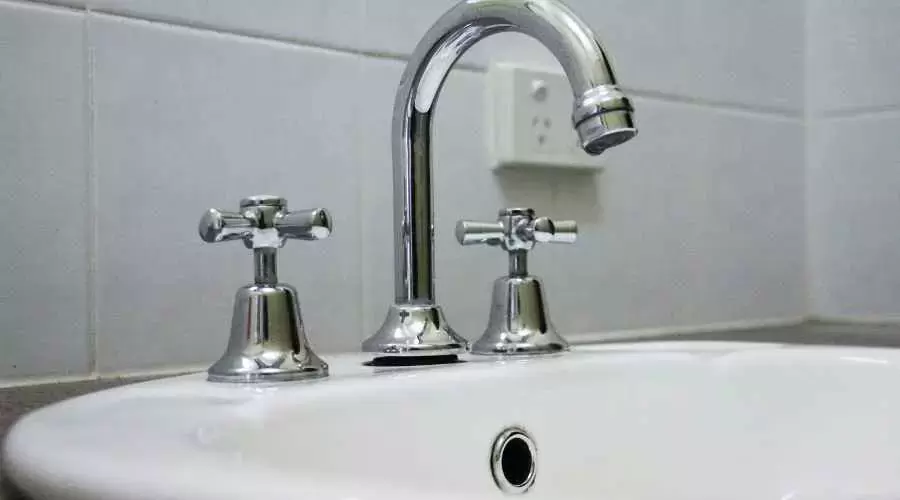
Fall has officially begun. More individuals are using their water heaters as the days get shorter and the mornings get chillier. Our team of skilled plumbers has put together a list of DIY Water Heater Maintenance Tips because you will be using your water heater more regularly. Before you get too caught up in organizing your Halloween costume and decorating the house, be sure your water heater is in good operating order.
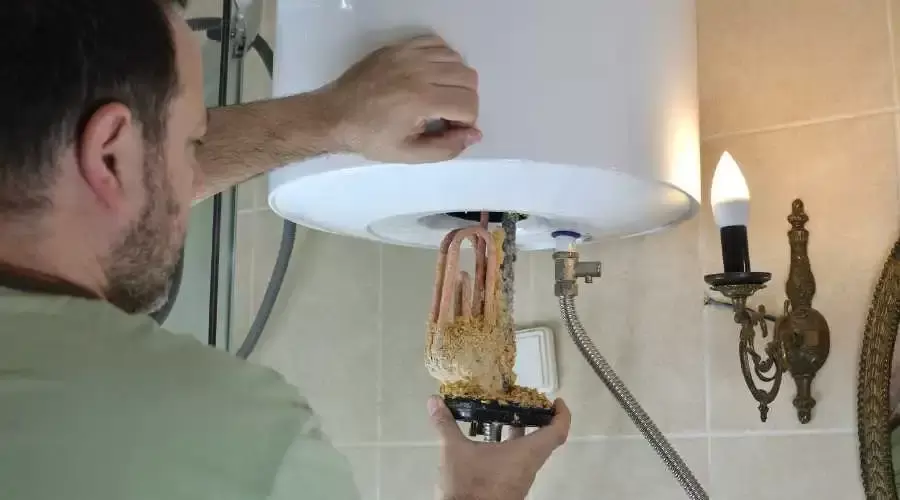
Taking the Water Heater Tank Off the Gas If your house already has a tankless water heater, you don't need this. But if, like the rest of us, you have a traditional tank water heater, you need flush it out once a year. Fortunately for us, the fall is the optimum time to complete this activity. If you're curious, allow me to explain. Because it starts to get colder in the fall, the typical amount of time a water heater is utilized rises. In the fall and winter, when it's warmer outside, people prefer to take longer, hotter showers. The techniques listed below can help you flush out your water heater:
0 Comments
As a homeowner, it's important to have a basic understanding of home repairs to tackle small issues that may arise. However, when it comes to plumbing repairs, it's often best to leave the job to the professionals. At CBJ Union City Plumbers, we specialize in providing top-notch plumbing services to homeowners in Union City and surrounding areas. Let's explore some essential plumbing repairs that you can handle yourself.
The Importance of Hiring a Professional Plumbing Service: Leave Plumbing Repairs to the Experts7/3/2023 When it comes to plumbing repairs, many homeowners are tempted to tackle the job themselves in an attempt to save money. However, DIY plumbing can often lead to more significant problems and costly repairs down the line. Here at CBJ Union City Plumbers, we believe in the importance of hiring a professional plumbing service. Let's explore why it's crucial to leave plumbing repairs to the experts.
Is your bathroom in need of a makeover? At CBJ Union City Plumbers, we understand the importance of a functional and stylish bathroom. That's why we've put together a list of five simple updates that can breathe new life into your bathroom space. From small changes to more significant upgrades, these ideas will help you create a bathroom that is both visually appealing and highly functional.
Cuando un grifo gotea, generalmente es una indicación de que uno de los componentes se ha desgastado. La forma en que debe continuar estará determinada por la ubicación de la fuga y el diseño mecánico de su grifo. Hay cuatro tipos distintos de grifos disponibles para usted: compresión, disco, cartucho y mecanismo. Cada uno tiene sus propias ventajas únicas. Antes incluso de intentar reparar un grifo que gotea, primero debe identificar el tipo de grifo que tiene para saber cómo comenzar con el proceso de reparación. Antes de comenzar, necesitará los siguientes elementos de equipo: Si tiene un grifo más ancho, las válvulas a menudo estarán cubiertas con cubiertas estéticamente agradables. Debido a que a menudo hay una rosca delgada en el conjunto de la válvula, debe intentar quitar la pieza de moldura. Debajo de la base de cada pomo hay un tornillo que sirve para sujetar el mango al vástago. Al desenroscar el componente, el mango se quitará con cuidado. Hay ocasiones en las que cuesta despegar el mango del grifo del vástago. Aplicar WD-40 en el área con una botella rociadora lo ayudará a agarrarlo mejor. Cuando haya terminado de quitar la tuerca del empaque, debería poder ver el vástago. Realmente necesitas deshacerte de toda esta área. En este punto, las rutas para ir a los numerosos grifos se bifurcarán en diferentes direcciones. Por ejemplo, algunos vástagos se pueden quitar rompiéndolos, mientras que otros se pueden quitar girándolos para alejarlos de la válvula. Retire todo con cuidado. Debe tomar precauciones para evitar la posibilidad de dañar los componentes, ya que esto podría hacer que el problema con el grifo que gotea sea mucho más grave. Los grifos que tienen menos de 25 años suelen tener un cartucho en su diseño. Después de 25 años de encendidos y apagados, los asientos seguramente han perdido su utilidad. Con un par de alicates de bloqueo de canal, debe intentar retirar el cartucho de inmediato. Puede ser difícil quitar los cartuchos si se han desarrollado incrustaciones y los han cementado en su lugar después de haber estado en su lugar durante algún tiempo. Si tira del cartucho mientras aplica una pequeña cantidad de presión, debería poder liberarlo eventualmente. En caso de que no pueda retirar el objeto, debe llamar a un plomero. Existen instrumentos que se pueden utilizar para extraer cartuchos. Herramientas para el trabajo Debe tener a mano todas las herramientas necesarias para ahorrar tiempo. Idealmente, necesitarás:
En este punto, todo debería permanecer en su ubicación actual. Compruebe la arandela y la junta tórica que se encuentran dentro del asiento de la válvula. Las fugas son a menudo la consecuencia de daños en este componente o el comienzo del deterioro del sello. La nueva arandela reemplazará a la anterior cuando se retire la anterior para que pueda ser reemplazada. Además, debe reemplazar la junta tórica, ya que es propensa al deterioro y debe hacerse con tanta frecuencia. Primero, debe verificar que tenga el ajuste correcto y luego, si es necesario, debe reemplazar las juntas tóricas y las arandelas. Si no está seguro acerca de alguna de estas cosas, examine el asiento para ver si los lados encajarán o no con la arandela plana. Es posible que tengas que salir y comprar un tamaño diferente. Las personas que tienen problemas para obtener la junta tórica del tamaño adecuado deben llevar la junta tórica que tienen con ellos a una ferretería para garantizar un ajuste preciso. Si tiene alguna duda al respecto, debe revisar el asiento para ver si los lados coinciden correctamente con la forma del cono. Una vez que esté completo, podrá comprar la junta tórica adecuada. En lugar de llevar una junta tórica vieja a la ferretería, puede ahorrar tiempo y dinero comprando una variedad de juntas tóricas en una variedad de tamaños a la vez. Incluso si cuesta unos pocos dólares más, tener el tamaño correcto es algo que resultará beneficioso. Una vez que tenga todos los componentes, deberá volver a armarlos. A la hora de volver a montarlo se van a realizar estos procedimientos en ese orden: Sugerencias y respuestas a problemas útiles Después de desmontar el grifo y volver a montarlo, debe asegurarse de que no pierda agua cuando esté abierto. Si ocurre, el problema puede no ser solo una junta tórica rota, sino algo mucho más serio. La mayoría de las veces, la siguiente razón más probable es la corrosión en el asiento de la válvula. Esto sucede cuando no se limpia adecuadamente de manera regular y eventualmente se desarrolla una fuga más cerca del pico del grifo. En el caso de que esto no ayude a detener la fuga de su grifo, aún existen otros problemas que podrían ser la causa, como componentes sueltos, sellos desgastados o tuberías rotas. Si ha probado estas cosas y no han tenido éxito, puede ser hora de llamar a los peces gordos y ponerse en contacto con un plomero. Uniendo Todo En caso de que esto ocurra, para cerrar el suministro de agua en su casa, deberá ubicar el punto de entrada del suministro de agua a su propiedad. Es esencial tener en cuenta que si cierra la válvula de agua, toda la casa comenzará a pedir agua instantáneamente. Esto es algo que debes tener en cuenta en todo momento. Pero a menudo es necesario tenerlo a mano para llevar a cabo cualquier mantenimiento o reparación esencial. When a faucet leaks, it's usually an indication that one of the component parts has been worn out. The manner in which you should continue will be determined by the location of the leak as well as the mechanical design of your faucet. There are four distinct types of faucets available to you: compression, disc, cartridge, and mechanism. Each has its own unique advantages.
Before you even attempt to fix a leaky faucet, you need first to identify the kind of faucet you have so you know how to begin with the repair process. Before getting started, you will need the following items of equipment: If you have a broader faucet, the valves will often be covered with aesthetically pleasing covers. Because there is often a thin thread on the valve assembly, you should attempt to remove the trim piece. Under the base of each knob is a screw that serves to attach the handle to the stem. Unscrewing the component will result in the handle being carefully removed. There are occasions when it is difficult to detach the handle of the faucet from the stem. Applying WD-40 to the area using a spray bottle will help you get a better grip on it. When you have finished removing the packing nut, you should be able to see the stem. You really need to get rid of this whole area. At this point, the routes to go to the numerous faucets will branch off in different directions. For instance, some stems may be removed by snapping them off, while others can be removed by twisting them away from the valve. Remove everything in a careful manner. You should take precautions to prevent the possibility of causing harm to the components, as this might make the problem with the leaky faucet much more severe. Faucets that are less than 25 years old often have a cartridge in their design. After 25 years of being turned on and off, the seats have most certainly lost their usefulness. Using a pair of channel lock pliers, you should make an immediate attempt to remove the cartridge. It may be difficult to remove the cartridges if the scale has developed and cemented them in place after they have been in place for some time. If you pull on the cartridge while applying a small amount of pressure, you should be able to eventually liberate it. In the event that you are unable to remove the object, you should call a plumber. There are instruments that may be used in order to remove cartridges. Tools for the job You must have all the necessary tools on hand in order to save time. Ideally, you'll need:
At this point, everything should remain in its current location. Check out the washer as well as the O-ring that are both situated within the valve seat. Leaks are often the consequence of damage to this component or the beginning of the seal's deterioration. The new washer will replace the older one when the older one is removed so that it may be replaced. Additionally, you need to replace the O-ring since it is prone to deterioration and should be done so often. First, you should verify that it has the correct fit, and then, if required, you should replace the O-rings and washers. If you are unsure about any of these things, examine the seat to see whether or not the sides will fit with the flat washer. It's possible that you'll need to go out and buy a different size. People who are having problems obtaining the appropriate sized O-ring should instead take the O-ring they have with them to a hardware store in order to ensure a precise fit. If you have any doubts about this, you should check the seat to see if the sides match the cone shape properly. Once that is complete, you will be able to buy the appropriate O-ring. Instead of taking an old O-ring with you to the hardware store, you could save time and money by purchasing an assortment of O-rings in a variety of sizes all at once. Even if it costs a few dollars extra, having the correct size is something that will prove to be beneficial. Once you have all of the components, you will need to put them back together. When putting it back together, these procedures are going to be carried out in that order: Suggestions and Answers to Helpful Problems After taking apart your faucet and reassembling it, you need to make sure that it does not leak any water when it is turned on. If it occurs, the problem may not only be a broken O-ring but something far more serious. Most of the time, the next most probable reason is corrosion on the valve seat. This happens when it is not cleaned properly on a regular basis and eventually develops a leak closer to the spout of the faucet. In the event that this does not help to stop the leak from your faucet, there are still further problems that might be the cause, such as loose components, worn-out seals, or broken pipes. If you have tried these things and they have not been successful, it may be time to call in the big guns and get in touch with a plumber. Bringing Together Everything In the event that this does occur, in order to turn off the water supply in your house, you will need to locate the point of entry for the water supply into your property. It is essential to keep in mind that if you turn off the water valve, the whole house will instantly start calling for water. This is something you should keep in mind at all times. But having it on hand is often required in order to carry out any essential maintenance or repairs. |
AuthorWrite something about yourself. No need to be fancy, just an overview. Archives
September 2023
Categories
All
|
FIND US ON:
|