- Home
-
Services
- Boiler Repair
- Drain and Sewer Clearing
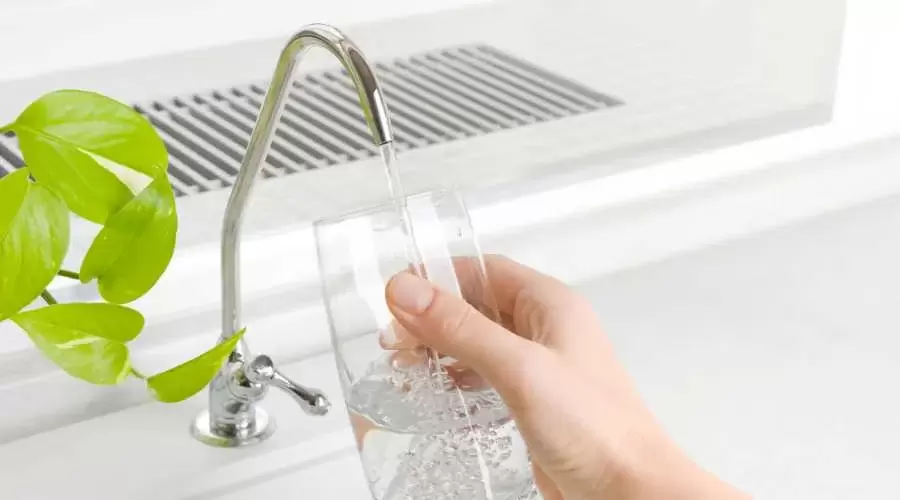
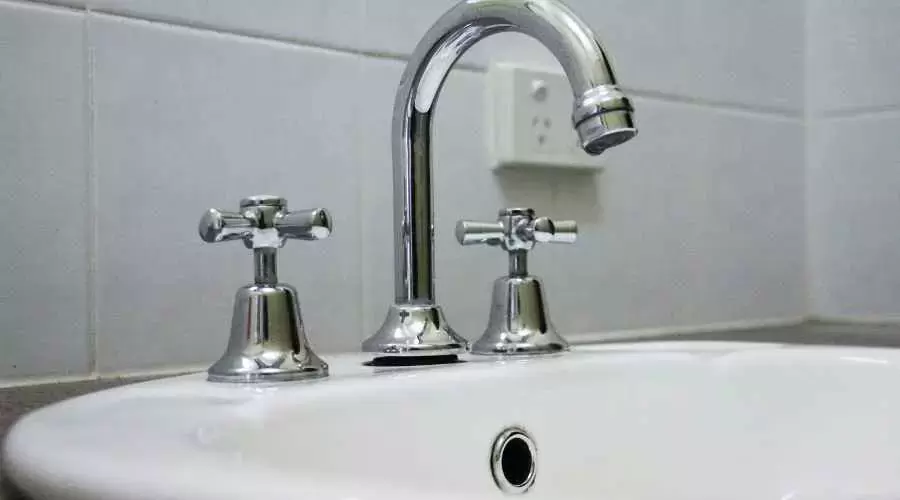
- Faucet and Fixtures Replacement
- Furnace Installation & Replacement
- Furnace Service & Maintenance
- Heat Pump Service & Maintenance
- Humidity Control & Dehumidification
- New Bathroom Finish
- New Bathrooms Prep
- New Hot Water Heater
- Replace Boiler
- Small Plumbing Repairs
- About Us
- Contact Us
- CBJ Plumbers West New York
- Blog
- Home
-
Services
- Boiler Repair
- Drain and Sewer Clearing
- Faucet and Fixtures Replacement
- Furnace Installation & Replacement
- Furnace Service & Maintenance
- Heat Pump Service & Maintenance
- Humidity Control & Dehumidification
- New Bathroom Finish
- New Bathrooms Prep
- New Hot Water Heater
- Replace Boiler
- Small Plumbing Repairs
- About Us
- Contact Us
- CBJ Plumbers West New York
- Blog

 RSS Feed
